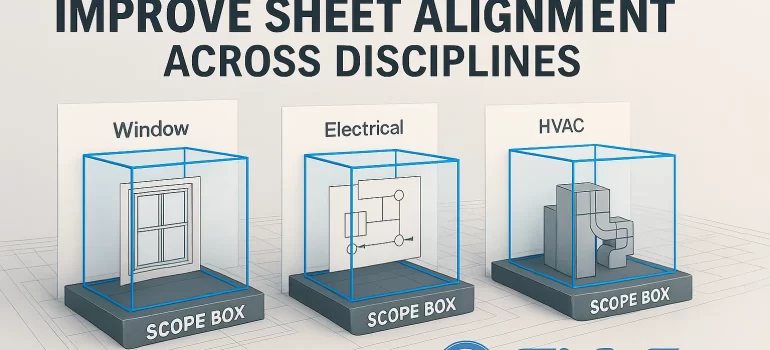
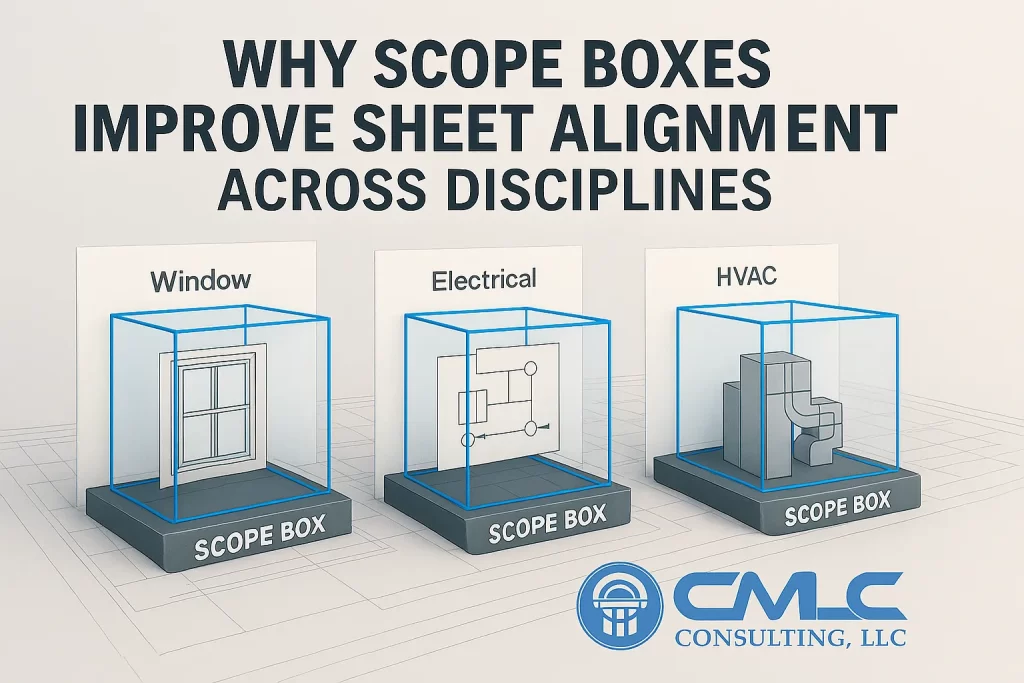
Nothing derails reviews like misaligned plans: the architect’s plan includes a room the MEP plan crops off; structure rotates a crop region; elevations don’t line up. Scope Boxes end that chaos.
Benefits Owners & Contractors Feel
Cleaner submissions: Uniform sheet windows build confidence.
Fewer questions: Reviewers navigate faster when floorplates match.
Reduced drawing churn: Edits happen within a stable frame, improving productivity.
A Practical Setup Checklist
Define Scope Boxes for each block/wing.
Assign to all floor plans, RCPs, elevations.
Lock viewport titles & scales via View Templates.
Verify link visibility respects your Scope Boxes.
CMLC policy: All live templates ship with mandatory Scope Box usage. It’s a small discipline that pays back for the entire project lifecycle.
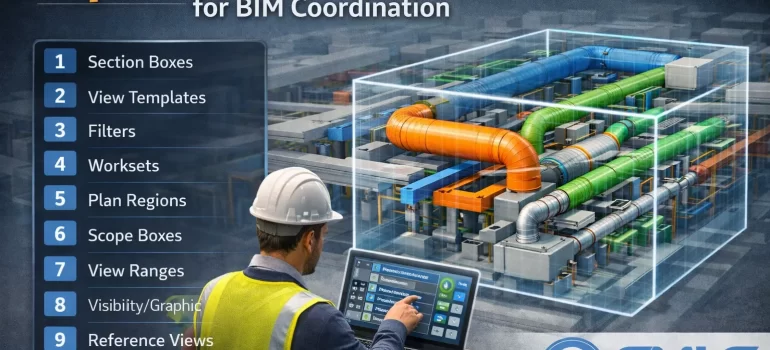
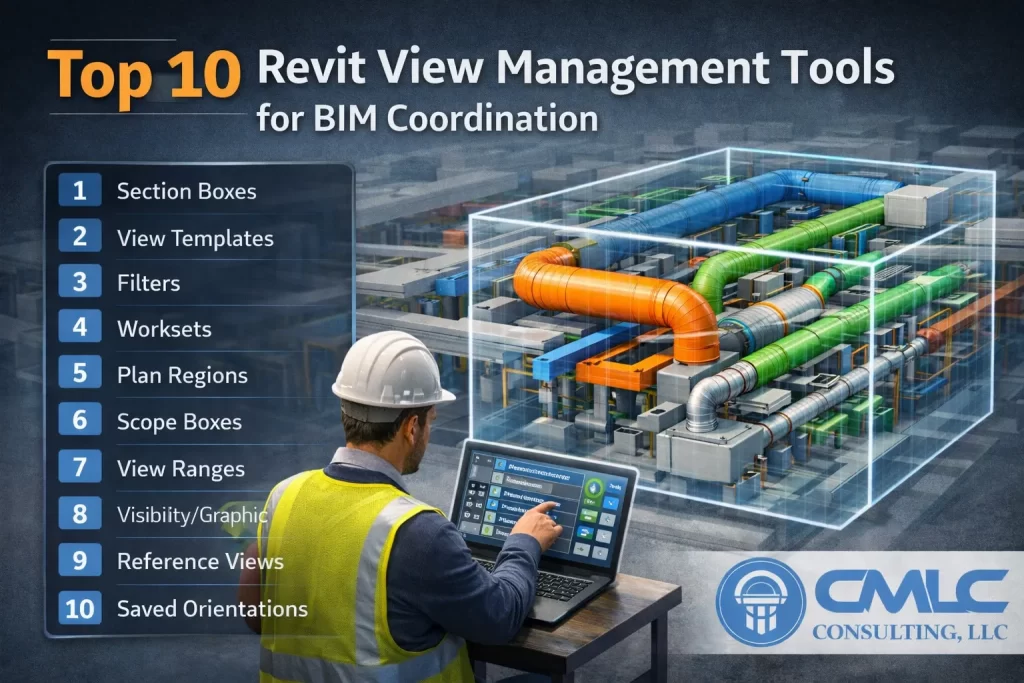
Section Boxes and Scope Boxes are part of a bigger view management system that keeps models efficient and sheets dependable. Here are CMLC’s Top 10:
View Templates — Enforce graphics, scales, and visibility across dozens of views.
Filters — Color-code trades/systems for instant comprehension.
Worksets — Control heavy categories for performance & clarity in reviews.
View Range — Ensure slabs, sills, and elements appear as intended in plans.
Crop Region — Fine-tune the last few inches without breaking the Scope Box standard.
Underlay & View Depth — Reference adjacent levels/areas without clutter.
Detail Level — Coarse/Medium/Fine: show only what that view needs.
Parts/Assemblies — Manage complex build-ups for coordination and shops.
Browser Organization — Group views by discipline/level/zone for faster navigation.
Sheet Lists with Parameters — QA completeness and standards in one glance.
CMLC application: We pair these with Section Boxes (local clarity) and Scope Boxes (global consistency) to cut review cycles and elevate output quality.
Related CMLC services: BIM Coordination • Projects • Contact
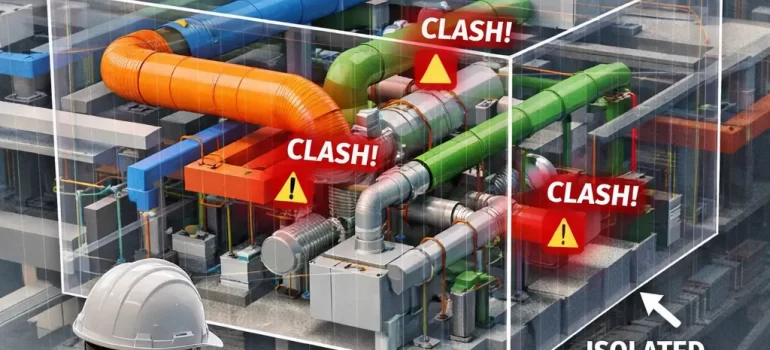
Rework is expensive because clash discovery often happens late. A strategic Section Box workflow brings discovery forward into design and coordination.
Three Ways Section Boxes Cut Rework
Context-rich detection: Seeing the clash in 3D—with the exact duct/beam/pipe geometry—prevents false assumptions.
Decisive approvals: Stakeholders sign off faster with clear visuals and agreed offsets/clearances.
Traceable decisions: Named views + snapshots = an audit trail of what changed and why.
From Coordination to Construction
When the model moves to shops/fab, those same 3D cropped views support:
Hanger layouts and sleeve plans.
Field coordination via tablets/QRs.
As-built verification (LOD 400–500) with Scan-to-BIM updates.
CMLC playbook: Every critical clash gets a dedicated, named Section Box view, with a resolution note. That habit alone cuts meeting time and shortens the RFI chain.
Related CMLC services: BIM Coordination • Scan-to-BIM • Contact
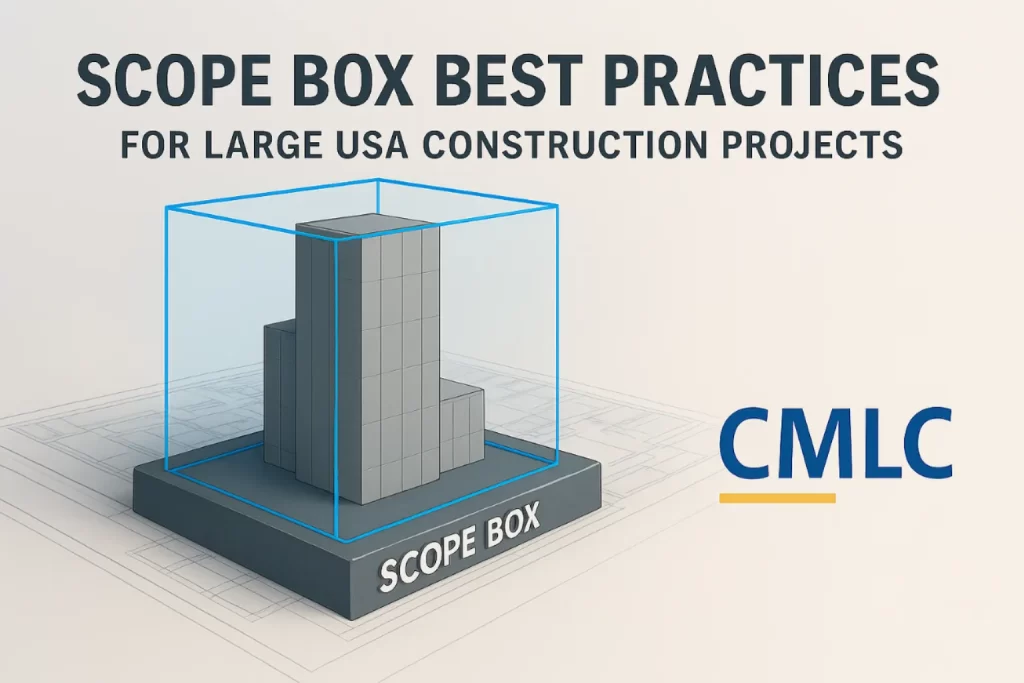
On campuses, hospitals, airports, and industrial plants, documentation can spiral unless you enforce view consistency. Scope Boxes are the guardrails.
The Four Non‑Negotiables
Naming conventions: Use zone + level (e.g., ZN-A_L01) to avoid ambiguity.
Template-first: Bake Scope Boxes into your project template so designs start aligned.
Linked-model discipline: Share the same Scope Box set with consultants to keep everyone’s sheets aligned.
Pair with View Templates: Lock graphics, scales, and visibility settings for repeatable outputs.
Practical Wins Owners Notice
Plans/elevations read uniformly across disciplines.
Review sessions go faster because sheet extents match.
Revisions drop because the framing window never drifts.
CMLC best practice: Create different Scope Box families for core, wings, and site—and pin them. Then assign them in one pass using schedules or Dynamo for speed at scale.
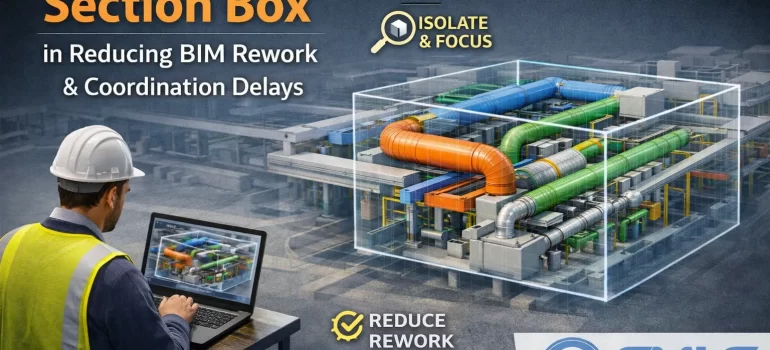
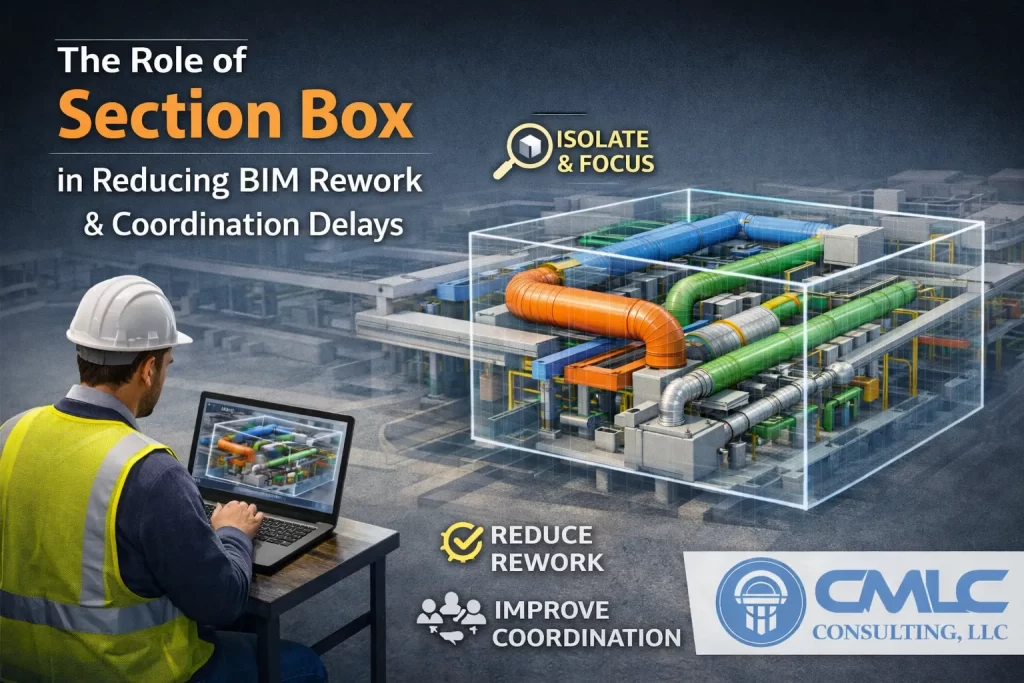
MEP spaces are where the model “gets real”—ducts, pipes, cable trays, sprinklers, and equipment fight for inches against structure and architecture. The Section Box is the coordinator’s scalpel: it removes noise and displays only the conflict zone so teams can make quick, correct decisions.
A Clash-to-Resolution Loop That Works
Generate clash sets (e.g., HVAC vs Structure, Plumbing vs Architecture, Electrical vs HVAC) in Navisworks.
Open the exact area in Revit, apply a tight Section Box, and color-code systems via View Filters.
Snapshot & mark up the cropped 3D view with tags and notes.
Save a named viewpoint and link it to the issue log; capture the before/after for traceability.
This workflow—clash → isolate → resolve → document—reduces rework and keeps meetings focused.
Why It Improves Installation Efficiency
Field teams see the exact geometry and clearances.
Prefabrication benefits from precise hanger/sleeve locations.
Change impact is minimized because issues are discovered earlier.
CMLC advantage: Our coordinators maintain a library of Section Box “hotspots” in complex shafts, risers, and plantrooms. It turns recurring problem zones into quick wins in later phases.
Related CMLC services: BIM Coordination • MEP modeling via Architectural BIM • Projects • Contact
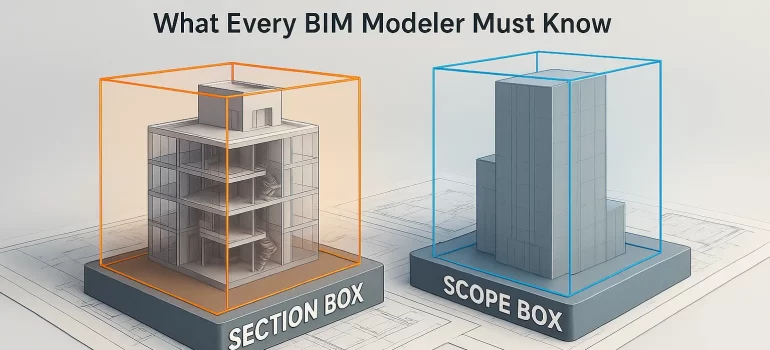
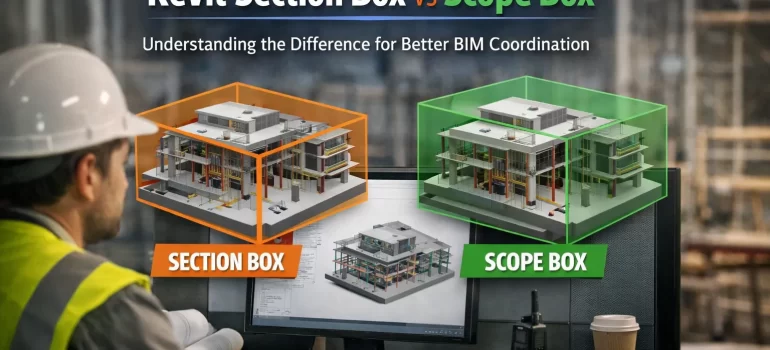
Revit gives coordinators two deceptively similar tools—Section Box and Scope Box—that solve very different problems. Understanding when and how to use each can dramatically speed up model reviews, reduce RFIs, and keep documentation consistent across disciplines. At CMLC Consulting, we bake both into our templates and coordination playbooks so teams move faster with fewer errors.
What a Section Box Really Does (and Why It’s Powerful)
A Section Box is a 3D view crop. You use it to temporarily isolate a portion of the model—say, a congested ceiling zone, a plantroom, or a riser—to “see inside” without exploding views or hiding categories. It is ideal for:
Rapid clash investigation in tight spaces.
Showing MEP rerouting options around beams or walls.
Guiding constructability discussions with contractors.
Producing visual snapshots for clash reports and meeting packs.
For disciplined clash-to-resolution workflows, see our BIM Coordination Services.
CMLC tip: Save named 3D views like L03_East_Riser_MEP_Clash with a tight Section Box and color filters per system (ducts, pipes, trays). This becomes a reusable “hotspot” you can revisit in future coordination cycles.
What a Scope Box Controls (and Why It Matters)
A Scope Box sets consistent boundaries for levels, grids, plans, elevations, and sections. It’s about model-wide alignment and documentation—not local inspection—and is indispensable on large/multi-building jobs.
Use Scope Boxes to:
Standardize plan extents across Architecture, Structure, and MEP.
Lock RCPs and floor plans to the same window for all trades.
Keep elevations/sections aligned from project start to closeout.
Avoid “cropped weirdly” sheets that confuse reviewers and installers.
CMLC tip: Name boxes by zone and level (e.g., ZN-A, ZN-B; L01–L10). Package them in the template and share with consultants via linked models.
When to Use Which
Use Section Box for local, visual analysis in 3D: clashes, routing, constructability, issue screenshots.
Use Scope Box for global, consistent documentation: sheet alignment, plan extents, and cross-discipline coordination.
The combination reduces sheet revisions, shortens review cycles, and builds trust with owners who see a clean, consistent set.
Related CMLC services: Architectural BIM • Structural BIM • Scan-to-BIM • Get a Quote
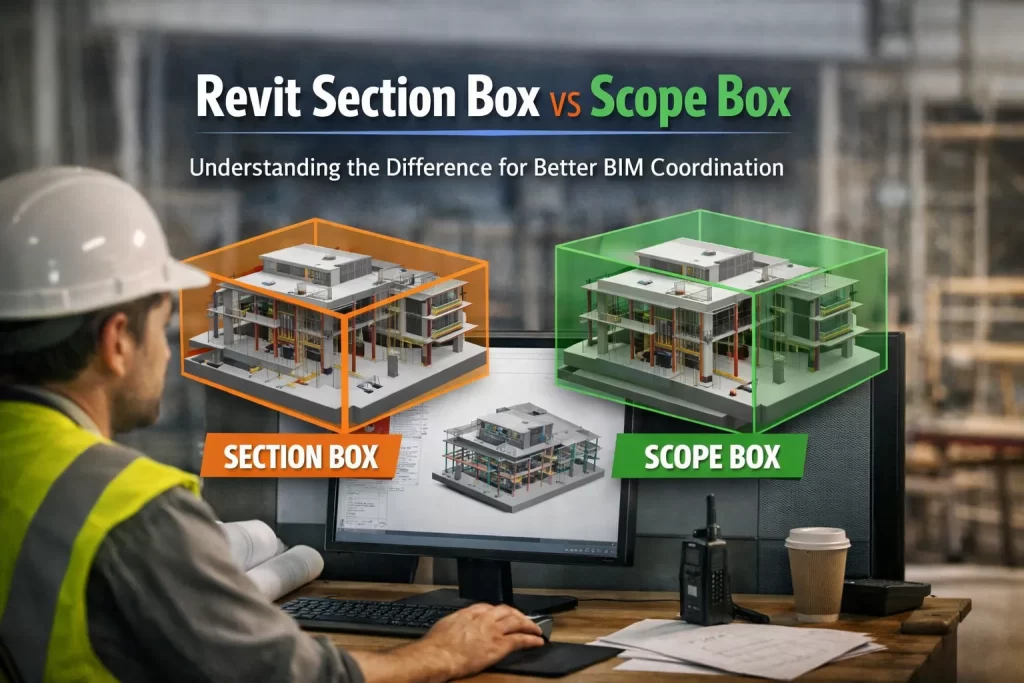
In the world of Revit and BIM workflows, two tools often confused—but essential for daily modeling tasks—are the Section Box and the Scope Box. Although both help improve visualization and control, they serve completely different purposes. For BIM teams, especially those handling multi‑discipline coordination, understanding this difference is crucial for clean modeling, efficient collaboration, and error‑free project delivery.
At CMLC Consulting, we use both tools extensively across Architectural, Structural, and MEP BIM projects to ensure clarity, consistency, and high‑quality deliverables.
1. What Is a Revit Section Box?
Purpose: Visual control, model isolation, and detailed review.
A Section Box allows you to temporarily crop a 3D view to focus on a specific area, floor, room, or system. It’s ideal for:
Creating quick 3D snapshots for coordination meetings
How CMLC Uses Section Boxes
During BIM Coordination Services, our team frequently applies Section Boxes to:
Examine conflicts between ducts, pipes, and beams
Create isolated 3D conflict visuals for clash reports
Improve stakeholder understanding in coordination calls
This helps reduce RFIs, enhances clarity, and speeds up issue resolution across all disciplines.
2. What Is a Revit Scope Box?
Purpose: Model-wide alignment, consistency, and controlled extents.
A Scope Box defines standard boundaries for:
Levels
Grids
Views
Elevations
Plan regions
It ensures model consistency, especially on large, multi‑building, or multi‑phase projects.
How CMLC Uses Scope Boxes
Scope Boxes are essential for:
Maintaining uniform crop regions across all floor plans
Ensuring grid/level alignment across Architectural, Structural & MEP models
Improving documentation consistency for client deliverables
Managing model extents on large industrial, institutional, and data center projects
For large-scale projects, Scope Boxes help avoid mismatched plan sizes, misaligned elevations, and coordination confusion.
Section Box vs Scope Box: Quick Comparison
Feature
Section Box
Scope Box
Purpose
Visual isolation
Model-wide view control
Used In
3D views only
Plans, elevations, sections
Best For
Clash review, detailed checks
Consistency, alignment, documentation
CMLC Application
MEP coordination visuals
Standardizing large projects
Why Understanding the Difference Matters
A misunderstanding between these tools can lead to:
Misaligned project sheets
Inconsistent view extents
Inefficient clash resolution
Confusion during model exchange
At CMLC, our BIM specialists ensure your project benefits from proper usage of these tools, improving accuracy, consistency, and coordination efficiency.
How CMLC Adds Value to Your BIM Workflow
Our team leverages Revit tools like Section Boxes and Scope Boxes as part of our core services:
BIM Coordination Services
Architectural & Structural BIM Services
MEP BIM Modeling and Clash Resolution
Scan-to-BIM Services for accurate as-built modeling
We ensure that your design team, contractors, and stakeholders always have clean, organized, and consistent models throughout the project lifecycle.
Conclusion
Both tools—Section Box and Scope Box—are essential but serve different purposes.
Section Box: For detailed 3D inspections and clash coordination.
Scope Box: For project-wide consistency and controlled documentation.
Using both effectively leads to fewer errors, better visualization, stronger coordination, and smoother project delivery—all central to how CMLC delivers high-quality BIM solutions.
As BIM adoption accelerates across the Architecture, Engineering, and Construction (AEC) industry, many firms struggle to find the right talent. Skilled BIM professionals—Revit modelers, coordinators, BIM managers—are in high demand. This talent gap has led to a rapid rise in BIM Staffing Solutions, a flexible and cost‑efficient way to scale BIM teams without long-term hiring commitments.
This enables firms to onboard expertise instantly.
2. Cost Efficiency Compared to In‑House Teams
Hiring full-time staff requires:
Salaries
Software licenses
Infrastructure
Training
BIM staffing eliminates overhead and offers predictable, project-based costs.
3. Faster Project Delivery
With on-demand staff, firms can scale quickly during peak workloads. This ensures:
Faster modeling
Smoother coordination
Fewer project delays
4. Ideal for Large & Multidisciplinary Projects
Complex projects require multiple BIM experts across disciplines. Staffing solutions ensure you have the right skill set at the right time.
Conclusion
BIM staffing is no longer a backup plan—it’s a strategic advantage. It helps AEC firms stay agile, reduce costs, and maintain top-tier quality in BIM workflows.
Project delivery in the construction industry depends heavily on accurate modeling, smooth coordination, and timely documentation. With schedules tightening and expectations rising, BIM Staffing Solutions have emerged as a powerful way to enhance project performance.
1. On-Demand Expertise Reduces Bottlenecks
When deadlines approach, internal teams often become overloaded. Adding BIM staff instantly relieves pressure and ensures:
Faster deliverables
Higher accuracy
Reduced overtime costs
2. Better Coordination & Fewer Clashes
With specialized staff dedicated to:
Clash detection
LOD modeling
MEP coordination
As‑built & Scan-to-BIM
Projects move forward with fewer RFIs and rework cycles.
3. Flexible Workforce Planning
Staffing solutions allow AEC firms to:
Scale during peak workloads
Reduce resources when projects slow
Maintain high quality without overhiring
4. Improved Client Satisfaction
Accurate BIM models, faster turnaround, and smoother coordination result in:
More predictable project outcomes
Stronger client trust
Repeat business
Conclusion
BIM staffing solutions empower AEC firms to deliver better, faster, and more accurate BIM outputs. Whether you’re handling one large project or multiple small ones, the flexibility of staffing support helps maintain performance and profitability.
As BIM becomes a standard across the AEC industry, firms must decide whether to build an in-house BIM team or rely on BIM Staffing Solutions. Both approaches have advantages—but choosing the right one depends on your project pipeline, budget, and long-term goals.
1. Cost Comparison
Traditional hiring:
Higher fixed costs
Long recruitment time
Training required
BIM staffing:
No long-term commitment
Instant access to talent
Pay only for project hours
Staffing is ideal for firms with fluctuating BIM workloads.
2. Skill Diversity
In-house teams often specialize in only one discipline. Staffing solutions allow access to:
Architectural, Structural & MEP modelers
BIM coordinators
Clash detection specialists
Scan-to-BIM experts
This flexibility is crucial for multidisciplinary projects.
3. Scalability
During tight deadlines, you may need a team of 5–10 BIM experts. Building this internally is slow and expensive. Staffing solutions enable rapid scaling—ideal for:
Large commercial buildings
Industrial facilities
Healthcare & data centers
4. Quality & Productivity
Staffing partners maintain strict quality standards and use proven workflows. This ensures:
High-quality BIM deliverables
Fewer modeling errors
Better coordination
Conclusion
If your projects demand flexibility, diverse skills, and predictable costs, BIM staffing is the smarter choice. Traditional hiring works best for firms with steady, long-term BIM requirements.